Benefits: Core android developer community who want to get familiar with a gridview. What is a gridview? This is a view which helps to place information multiple rows and columns.Its like a two dimensional array of cells. So you can just set up a simple adapter and all the data is ready to display. Well to be more precise the views (In this case it is the Grid) get created on the onCreate method of the activity so it would not be possible to bind the data with grid in this method. So the grid gets populated from the onStart method of the activity. It shall be clearer once you go through the code of the MainActivity.java. We will limit our discussion to multiple columns in a cell of a row in an android activity, where each cell is associated with a template. Let us have a step by step discussion on the development of multiple columns for GridView without using a custom adapter. We will also discuss about retrieving the data from sqlite Database.
Step 1: Create a empty Android Project. I.e open Eclipse → File → New → Android Project Name it gridColumns, and let the rest of the parameters as such.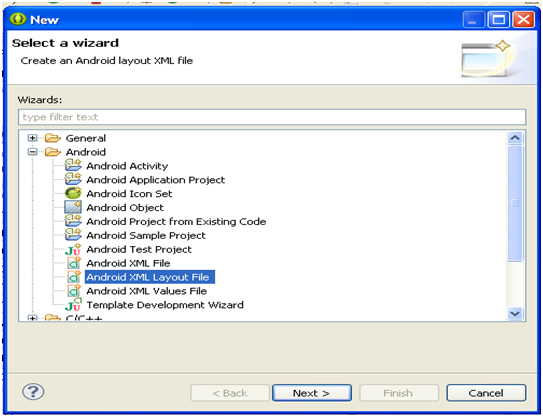
<?xml version="1.0" encoding="utf-8"?>
<RelativeLayout xmlns:android="http://schemas.android.com/apk/res/android"
    android:layout_width="match_parent"
    android:layout_height="match_parent" >

     <TextView
        android:id="@+id/txtgrdrowname"
        android:layout_width="wrap_content"
        android:layout_height="wrap_content"
        android:layout_alignParentLeft="true"
        android:layout_alignParentTop="true"
        android:layout_marginLeft="20dp"
        android:layout_marginTop="14dp"
        android:text="Name" / >

     <TextView
        android:id="@+id/txtgrdrowphone"
        android:layout_width="wrap_content"
        android:layout_height="wrap_content"
        android:layout_alignLeft="@+id/txtgrdrowname"
        android:layout_below="@+id/txtgrdrowname"
        android:layout_marginTop="15dp"
        android:text="Phone" / >

     <TextView
        android:id="@+id/textView1"
        android:layout_width="wrap_content"
        android:layout_height="wrap_content"
        android:layout_alignLeft="@+id/txtgrdrowphone"
        android:layout_below="@+id/txtgrdrowphone"
        android:layout_marginTop="16dp"
        android:text="----------------------" / >

 </RelativeLayout >
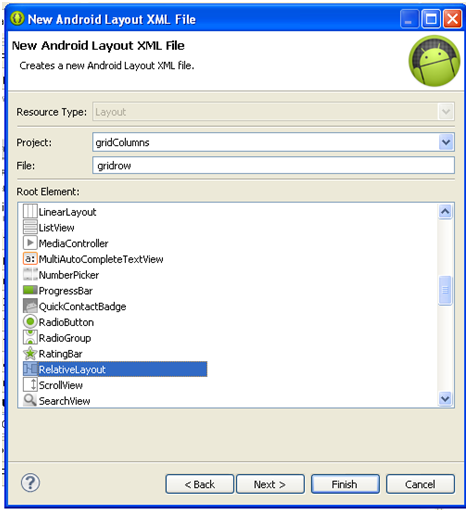
Step 4: Copy the below xml onto the activity_mail.xml
 <?xml version="1.0" encoding="utf-8"? >
 <LinearLayout xmlns:android="http://schemas.android.com/apk/res/android"
    android:layout_width="match_parent"
    android:layout_height="match_parent"
    android:background="#00BBFF"
    android:orientation="vertical"  >

	 <TextView
	    android:id="@+id/txtEmpMsg"
	    android:layout_width="wrap_content"
	    android:layout_height="wrap_content"
	    android:text="Click To Select" / >

     <GridView
        android:id="@+id/grdEmp"
        android:layout_width="match_parent"
        android:layout_height="365dp"
        android:numColumns="1"
        android:scrollbars="vertical"  >

     </GridView >

 </LinearLayout >
package com.example.gridcolumns;

import android.content.ContentValues;
import android.content.Context;
import android.database.Cursor;
import android.database.sqlite.SQLiteDatabase;
import android.database.sqlite.SQLiteOpenHelper;

public class DatabaseHelper extends SQLiteOpenHelper {

	static final String dbName = "demoDB";
	static final String employeeTable = "Employees";
	static final String colID = "EmployeeID";
	static final String colName = "EmployeeName";
	static final String colAge = "Age";
	static final String colPhone = "Phone";

	static final String viewEmps = "ViewEmps";

	public DatabaseHelper(Context context) {
		super(context, dbName, null, 33);

		// TODO Auto-generated constructor stub
	}

	@Override
	public void onCreate(SQLiteDatabase db) {
		// TODO Auto-generated method stub

		db.execSQL("CREATE TABLE " + employeeTable + " (" + colID
				+ " INTEGER PRIMARY KEY AUTOINCREMENT, " + colName + " TEXT, "
				+ colAge + " Integer, " + colPhone + " varchar not null)");

		db.execSQL("CREATE VIEW " + viewEmps + " AS SELECT " + employeeTable
				+ "." + colID + " AS _id," + " " + employeeTable + "."
				+ colName + "," + " " + employeeTable + "." + colAge + ","
				+ " " + employeeTable + "." + colPhone + "" + " FROM "
				+ employeeTable);
		// Inserts pre-defined departments
		InsertEmps(db);
	}

	@Override
	public void onUpgrade(SQLiteDatabase db, int oldVersion, int newVersion) {
		// TODO Auto-generated method stub

		db.execSQL("DROP TABLE IF EXISTS " + employeeTable);
		db.execSQL("DROP VIEW IF EXISTS " + viewEmps);
		onCreate(db);
	}

	void InsertEmps(SQLiteDatabase db) {
		ContentValues cv = new ContentValues();
		cv.put(colID, 1);
		cv.put(colName, "Emp1");
		cv.put(colAge, 37);
		cv.put(colPhone, "9891435912");
		db.insert(employeeTable, colID, cv);

		cv.put(colID, 2);
		cv.put(colName, "Emp2");
		cv.put(colAge, 38);
		cv.put(colPhone, "9891363938");
		db.insert(employeeTable, colID, cv);

	}

	Cursor getAllEmployees() {
		SQLiteDatabase db = this.getWritableDatabase();
		// Cursor cur=
		// db.rawQuery("Select "+colID+" as _id , "+colName+", "+colAge+" from "+employeeTable,
		// new String [] {});
		Cursor cur = db.rawQuery("SELECT * FROM " + viewEmps, null);
		return cur;
	}
}
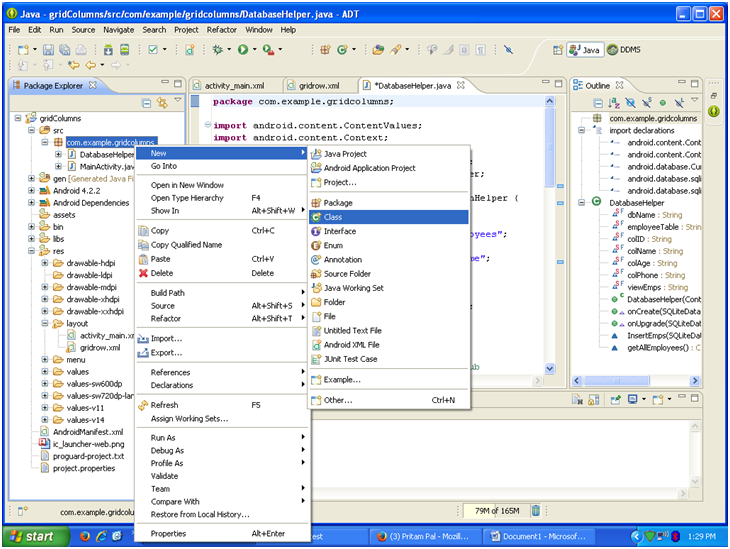
In the above code we created the database, database table and the view using the SQLITE Manager.
package com.example.gridcolumns;

import android.os.Bundle;
import android.app.Activity;
import android.database.Cursor;
import android.support.v4.widget.SimpleCursorAdapter;
import android.view.Menu;
import android.widget.GridView;
import android.widget.TextView;

public class MainActivity extends Activity {

	DatabaseHelper dbHelp;
	GridView grd;
	TextView txtMsg;
    @Override
    protected void onCreate(Bundle savedInstanceState) {
        super.onCreate(savedInstanceState);
        setContentView(R.layout.activity_main);

        grd=(GridView)findViewById(R.id.grdEmp);
        txtMsg=(TextView)findViewById(R.id.txtEmpMsg);
    }

    @Override
    protected void onStart() {
    	// TODO Auto-generated method stub
    	super.onStart();
    	dbHelp=new DatabaseHelper(this);
    	populateGrid();
    }

    @Override
    public boolean onCreateOptionsMenu(Menu menu) {
        // Inflate the menu; this adds items to the action bar if it is present.
        getMenuInflater().inflate(R.menu.main, menu);
        return true;
    }

    private void populateGrid()
    {
    	try
    		{
    		// TODO Auto-generated method stub
    		   Cursor c=dbHelp.getAllEmployees();
    		   if (c!=null)
    		   {
    		    startManagingCursor(c);

    			String [] from=new String []{DatabaseHelper.colName, DatabaseHelper.colAge,DatabaseHelper.colPhone};
    			int [] to=new int [] {R.id.txtgrdrowname,R.id.txtGrdAge,R.id.txtgrdrowphone};

    			SimpleCursorAdapter sca=new SimpleCursorAdapter(this,R.layout.gridrow,c,from,to,0);
    			grd.setAdapter(sca);

    			if (c.getCount()==0)
    				txtMsg.setText("No Records Found: Enter Doctor Details");
    			else
    				txtMsg.setText(c.getCount()+":"+" Records Found.");
    		   }

    		}
    		catch(Exception ex)
    		{
    			txtMsg.setText(ex.toString());
    		}

    }
}
In the above code we just added a new function to populate the GRID with help of the simplecursuradapter.
Now that all the files are ready, press CRTL F11 from the Java file and it should execute.
The output looks like this in the emulator: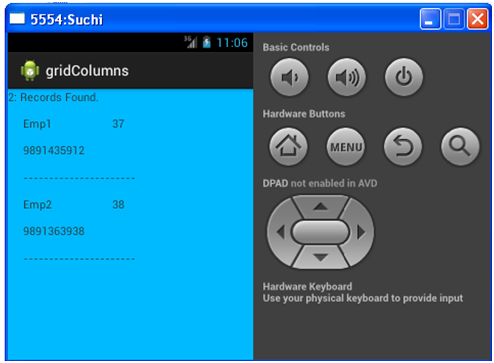
Suchisnita Nayak
   I have 12 years of expertise in the Microsoft Platform after which I thought of exploring the Android Framework.
 As Android is open source and has great features I am hooked onto it.

 +91-9999-283-283/9540-283-283
 info@sisoft.in